
Why would you take a picture of your surroundings when you can just draw it? Snapping a picture is much easier, but it’s not as fun as drawing what you see around you. Drawing your environment may be fun, but it’s not always easy. So here are some steps on how to draw your surroundings.


1) Make a Rough Sketch
Don’t focus on making your rough sketch perfect that’s why it is called “rough.” This rough sketch is to help you understand where the objects are in your drawing and help you have things in the correct positions.

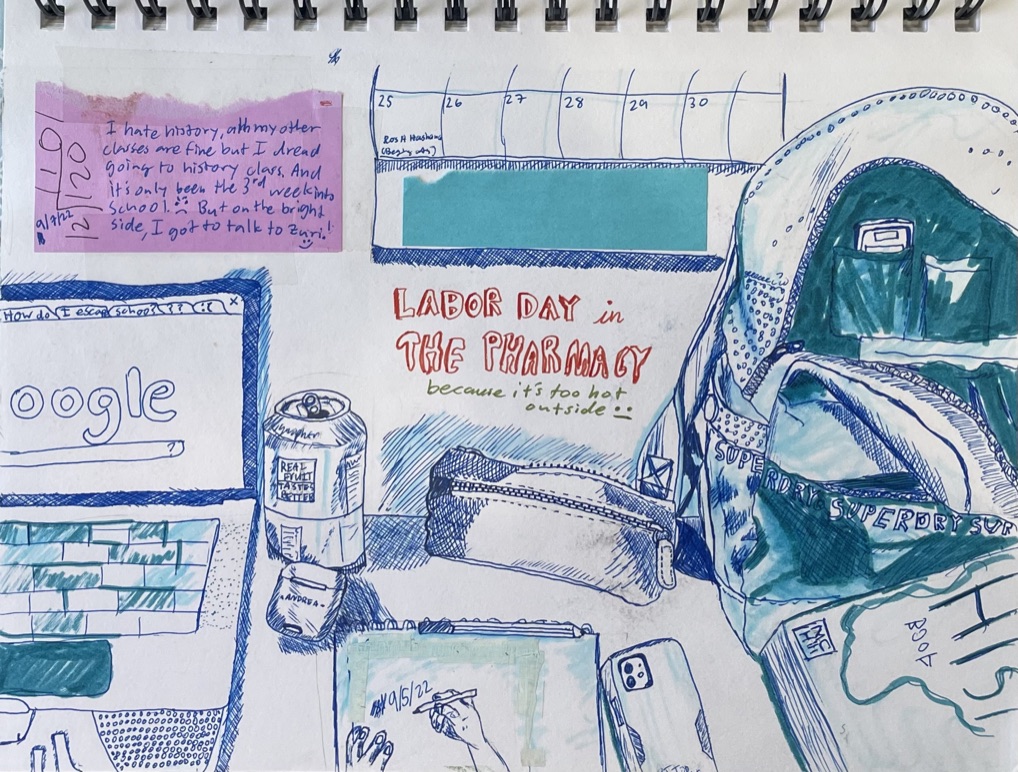
⬆Reference Photo⬆

2) Get Your Proportions Right
If your proportions aren’t right, your drawings will look odd. Things that are farther away are smaller, and closer things are bigger. If what you are drawing is at an angle, the farther it is, the bigger it is until it narrows down and gets closer to you.
I drew lines shown in the bottom photo to correctly proportion the things in my drawing.


3) Draw in The Details
Don’t worry about the detail in the beginning. After drawing your rough sketch you can then fill in the fine details.

4) Shade in The Shadows
Draw and fill in the shadows of your drawing. Some shadows are sharper and darker than others, while some are blurred and soft.
Dark, sharp shadows should be drawn with pressure, while soft shadows should be shaded and then blended out.


5) Blend Things In
When working with a pencil to draw your surroundings, your shadows/drawings may look rough. Use a Q-tip or your finger to smooth out your shadows.

Now, you know how to draw your surroundings! Forget about your camera and reach for your pencil to draw what you see!
